
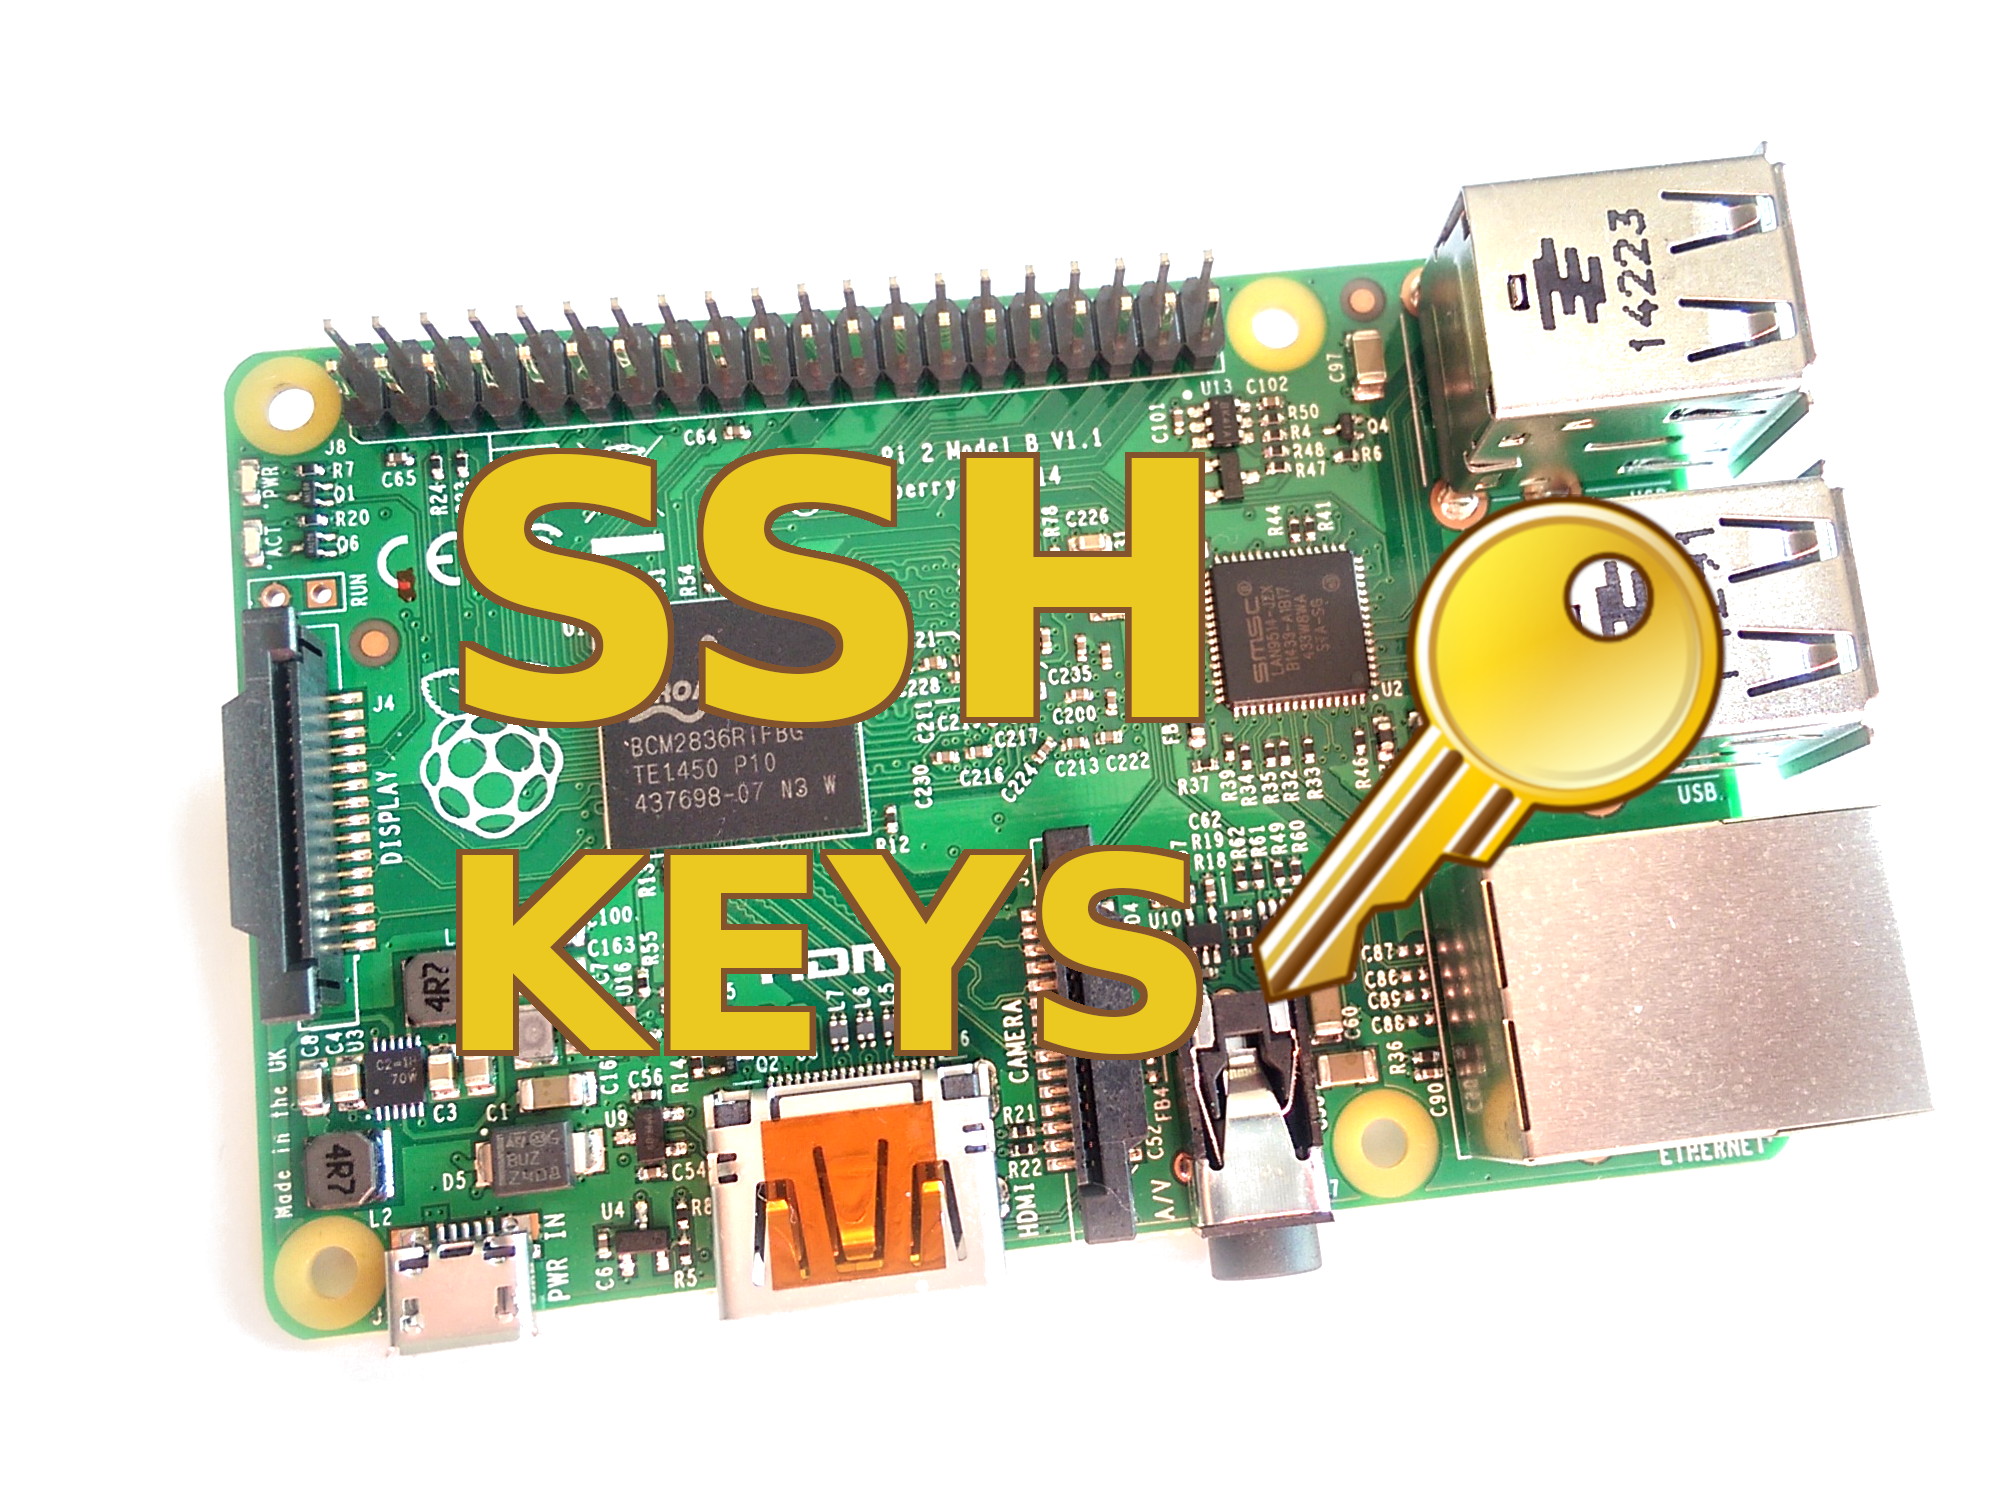
Setting Up RemoteIoT VPC SSH On Raspberry Pi For Free: A Comprehensive Guide
RemoteIoT VPC SSH on Raspberry Pi has become an increasingly popular solution for individuals and businesses looking to manage IoT devices remotely. With the growing demand for smart home automation, remote monitoring, and secure data transfer, understanding how to set up a Virtual Private Cloud (VPC) SSH on a Raspberry Pi is essential. This guide will provide you with step-by-step instructions, tips, and best practices to achieve a secure and reliable setup.
As more people turn to remote work and IoT-based solutions, the need for secure and scalable infrastructure becomes crucial. A Raspberry Pi, combined with a VPC SSH configuration, offers a cost-effective and flexible way to achieve this goal. By the end of this article, you will have a thorough understanding of how to set up RemoteIoT VPC SSH on your Raspberry Pi without incurring unnecessary costs.
This article is designed for both beginners and advanced users who want to explore the possibilities of remote IoT management. Whether you're setting up a home automation system or managing industrial IoT devices, this guide will walk you through the process in detail, ensuring that your setup is both efficient and secure.
Table of Contents
1. Introduction to RemoteIoT VPC SSH
2. Overview of Raspberry Pi for IoT
- Jackerman Mothers Warmth 3 Premium Winter Comfort The Ultimate Winter Cozy Experience
- Nisha Gurgain Xxx A Closer Look At Her Life And Influence
5. Security Best Practices for RemoteIoT VPC SSH
6. Common Issues and Troubleshooting
7. Free Options for RemoteIoT VPC SSH
8. Performance Optimization Tips
Introduction to RemoteIoT VPC SSH
In today's interconnected world, managing IoT devices remotely is a necessity. RemoteIoT VPC SSH allows you to create a secure connection between your IoT devices and a central server, ensuring that data is transmitted safely and efficiently. By leveraging a Raspberry Pi as the central hub, you can achieve this functionality without the need for expensive hardware or software.
A Virtual Private Cloud (VPC) provides a secure and isolated environment for your IoT devices, while SSH ensures encrypted communication between your devices and the Raspberry Pi. This setup is ideal for anyone looking to manage IoT devices from anywhere in the world.
Why Choose Raspberry Pi for RemoteIoT?
The Raspberry Pi is a versatile and affordable single-board computer that is perfect for IoT applications. Its low power consumption, compact size, and open-source community support make it an excellent choice for remote IoT setups.
Overview of Raspberry Pi for IoT
The Raspberry Pi has become a staple in the IoT community due to its flexibility and ease of use. Whether you're building a smart home automation system or monitoring environmental conditions, the Raspberry Pi can serve as the backbone of your IoT infrastructure.
Key Features of Raspberry Pi
- Compact Size
- Low Power Consumption
- Open-Source Support
- Wide Range of GPIO Pins
- Support for Multiple Operating Systems
Benefits of Using VPC SSH
Using a VPC SSH setup for your IoT devices offers numerous advantages. Here are some of the key benefits:
- Security: SSH ensures that all communication between your devices and the Raspberry Pi is encrypted, protecting sensitive data from unauthorized access.
- Scalability: A VPC environment allows you to scale your IoT infrastructure easily, accommodating more devices as needed.
- Cost-Effectiveness: By leveraging a Raspberry Pi and open-source software, you can achieve a professional-grade setup without breaking the bank.
- Flexibility: VPC SSH setups can be customized to meet the specific needs of your IoT project, whether it's for home automation or industrial applications.
Step-by-Step Setup Process
Setting up RemoteIoT VPC SSH on a Raspberry Pi involves several steps. Below is a comprehensive guide to help you through the process:
Step 1: Prepare Your Raspberry Pi
Before you begin, ensure that your Raspberry Pi is properly configured. This includes:
- Installing the latest version of Raspberry Pi OS
- Enabling SSH in the Raspberry Pi configuration settings
- Connecting your Raspberry Pi to a stable internet connection
Step 2: Set Up a VPC Environment
To create a secure VPC environment, you can use services like AWS or Google Cloud Platform. These platforms offer free tiers that are perfect for small-scale IoT projects. Follow the documentation provided by the platform to set up your VPC.
Step 3: Configure SSH
Once your VPC is set up, configure SSH on your Raspberry Pi to connect to the VPC. This involves generating SSH keys, setting up port forwarding, and configuring firewall rules to allow secure connections.
Security Best Practices for RemoteIoT VPC SSH
Security is paramount when managing IoT devices remotely. Here are some best practices to ensure your setup is secure:
- Use Strong Passwords: Always use strong, unique passwords for your Raspberry Pi and VPC accounts.
- Enable Two-Factor Authentication: Add an extra layer of security by enabling two-factor authentication for SSH connections.
- Regularly Update Software: Keep your Raspberry Pi OS and all related software up to date to protect against vulnerabilities.
- Monitor Logs: Regularly review system logs to detect and respond to any suspicious activity.
Common Issues and Troubleshooting
Even with careful planning, issues can arise during the setup process. Below are some common problems and their solutions:
- SSH Connection Issues: Check your SSH configuration, ensure that port 22 is open, and verify your network settings.
- VPC Connectivity Problems: Double-check your VPC settings and ensure that all necessary rules are in place.
- Device Communication Failures: Ensure that all devices are properly configured and connected to the network.
Free Options for RemoteIoT VPC SSH
Several platforms offer free tiers that are suitable for small-scale IoT projects. Here are some options to consider:
- AWS Free Tier: Provides 750 hours per month of VPC usage for one year.
- Google Cloud Free Tier: Offers $300 in free credits to new users, along with a permanent free tier for VPC services.
- Oracle Cloud Free Tier: Offers a generous free tier that includes VPC and compute resources.
Performance Optimization Tips
To ensure that your RemoteIoT VPC SSH setup performs optimally, consider the following tips:
- Optimize Network Settings: Configure your network to prioritize traffic for IoT devices.
- Use Compression: Enable SSH compression to reduce bandwidth usage and improve performance.
- Monitor Resource Usage: Keep an eye on CPU, memory, and disk usage on your Raspberry Pi to ensure it can handle the workload.
Real-World Use Cases
RemoteIoT VPC SSH setups have a wide range of applications. Here are some real-world examples:
- Smart Home Automation: Manage lighting, climate control, and security systems remotely.
- Environmental Monitoring: Monitor temperature, humidity, and air quality in real-time.
- Industrial IoT: Monitor and control machinery and equipment in manufacturing facilities.
Conclusion and Next Steps
Setting up RemoteIoT VPC SSH on a Raspberry Pi is a powerful way to manage IoT devices remotely. By following the steps outlined in this guide, you can create a secure, scalable, and cost-effective setup that meets your needs. Remember to prioritize security, regularly update your software, and monitor your system for optimal performance.
We encourage you to share your experience with this setup in the comments below. If you found this article helpful, consider sharing it with others who may benefit from it. For more information on IoT and Raspberry Pi projects, explore our other articles on the site.
References:
Article Recommendations
- Odisha Viral Mms Video Shocking Content Exposed And What You Need To Know
- Ullu Web Series Actress Name List A Comprehensive Guide To Talented Stars

Detail Author:
- Name : Christa Wyman IV
- Username : adan38
- Email : daphney.strosin@sipes.com
- Birthdate : 1983-05-19
- Address : 883 Bednar Ranch Suite 070 Port Tyriquehaven, IA 51277-0962
- Phone : +1-814-323-0017
- Company : Goodwin-Becker
- Job : Financial Services Sales Agent
- Bio : Omnis ut incidunt qui voluptatem rerum. Omnis est omnis earum accusantium et quis magnam est. Necessitatibus quia blanditiis in eum saepe. Et odit voluptate possimus et quod ipsam.
Socials
linkedin:
- url : https://linkedin.com/in/ziemem
- username : ziemem
- bio : Nemo aperiam ea aperiam voluptas molestiae qui.
- followers : 2032
- following : 533
instagram:
- url : https://instagram.com/zieme2011
- username : zieme2011
- bio : Aut ipsum beatae voluptatem fuga. Tenetur est quas excepturi facilis quo.
- followers : 787
- following : 114
tiktok:
- url : https://tiktok.com/@marguerite1812
- username : marguerite1812
- bio : Consequatur doloremque aliquam harum. A asperiores numquam a aliquid.
- followers : 5783
- following : 2743
twitter:
- url : https://twitter.com/ziemem
- username : ziemem
- bio : Dolor dolor nesciunt autem sit. Eligendi et rerum voluptas. Ducimus quia repudiandae ex praesentium vel. Impedit ipsum ea omnis.
- followers : 1776
- following : 1628
facebook:
- url : https://facebook.com/marguerite9423
- username : marguerite9423
- bio : Voluptatem aut repellendus blanditiis dolorem quasi excepturi.
- followers : 5504
- following : 1051
